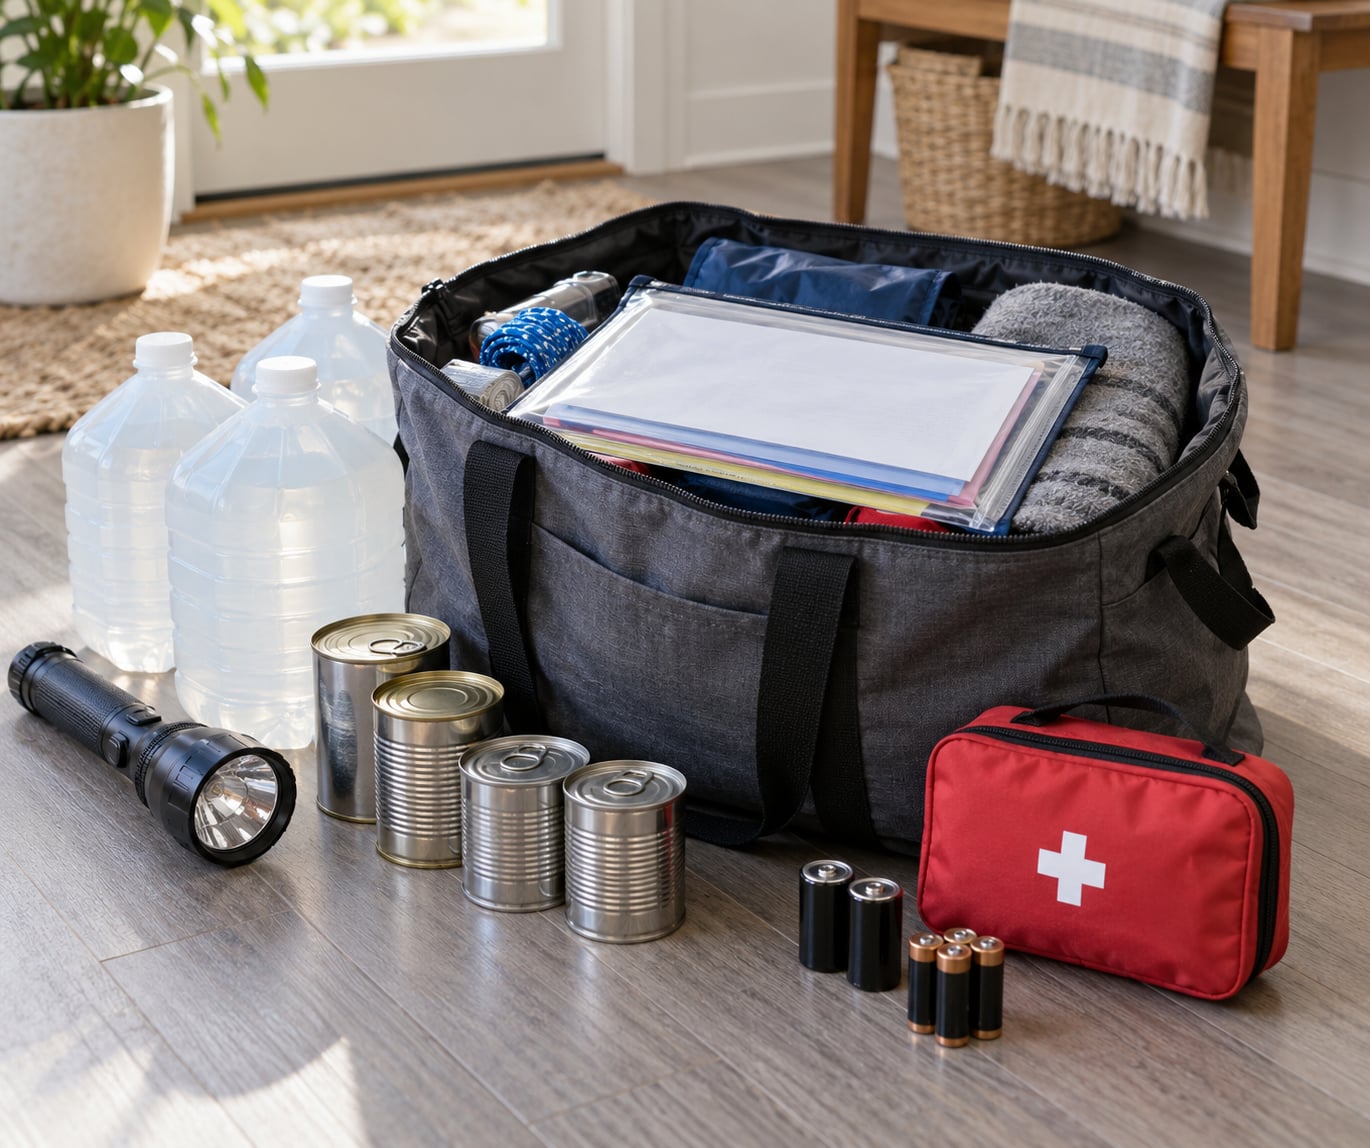
A home emergency kit is a container of water, shelf-stable food, first aid supplies, lighting, communication tools, documents and a few tools, packed so your household can handle at least three days (72 hours) without power, running water or help from outside. To build a basic home emergency kit, you start with what you already own, buy the gaps in stages, and store everything in one labeled container every adult and older child can find in under a minute.
Three days is the floor, not the finish line. Ready.gov and county emergency management offices repeat the same guidance: one gallon of water per person per day for at least three days, plus food, lights and a way to hear official instructions. If your area deals with flooding, wildfire, ice storms or outages that routinely run past 48 hours, plan for seven days of water and food instead.
Most people get this wrong in one of two ways. They buy one oversized pre-made kit, shove it in a closet and forget about it. Or they put it off entirely because the full list reads like a big-ticket project. The version that actually works gets built in stages, one category at a time, starting today.
Table of Contents
- What You Need: The Core Categories
- Step-by-Step: Building the Kit in Seven Steps
- Step 1: Choose a Container and a Location Everyone Can Reach
- Step 2: Pack Water, Food, and No-Cook Supplies
- Step 3: Add First-Aid and Health Supplies
- Step 4: Add Lighting, Power, and Communication Tools
- Step 5: Protect Documents, Cash, and Contact Information
- Step 6: Add Hygiene, Clothing, and Local Extras
- Step 7: Check, Label, and Maintain the Kit
- Common Mistakes: What to Skip and How to Fix It
- What to Leave Out of the Kit
- The Mistakes That Invalidate a Kit Most Often
- Frequently Asked Questions
- How many days should an emergency kit last?
- How much water should be in an emergency survival kit?
- Where should I store my home emergency kit?
- What should not be included in a basic emergency kit?
- How often should I replace emergency kit supplies?
- What should renters and apartment residents do differently?
- Conclusion: Start With One Container This Week
What You Need: The Core Categories
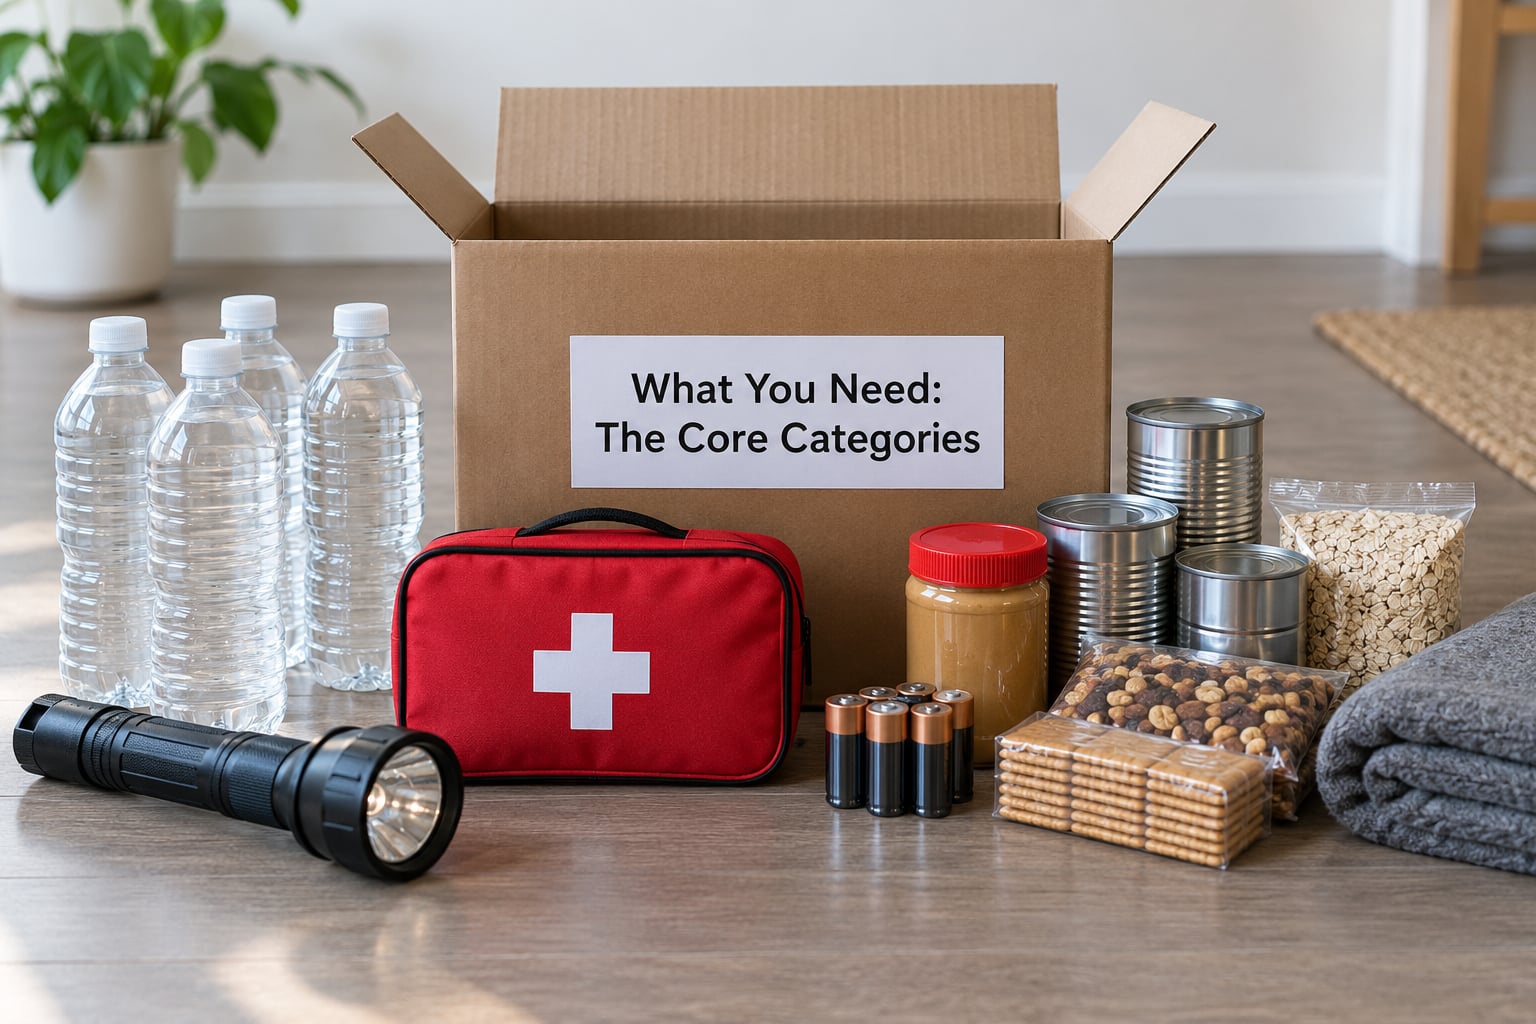
Before you buy anything, sort the kit into seven categories. Once items live in a category, you can see what you already have, what needs buying, and what does not apply to your household at all.
- Water and food. Bottled water for drinking and sanitation, shelf-stable meals that need no cooking and no refrigeration, a manual can opener, disposable utensils, and a few items that can be eaten cold.
- First aid and health. A stocked first aid kit, prescription medications with a few extra days on hand, a list of doctors and pharmacies, glasses, and any device supplies you rely on daily.
- Lighting and communication. Flashlights that work on replaceable batteries, spare batteries in the sizes you actually use, a battery-powered or hand-crank radio, and a whistle for signaling rescuers.
- Documents and money. Copies of ID, insurance papers, deeds or lease records, a written emergency contact list, and a small amount of cash in small bills.
- Shelter and sanitation. Emergency blankets, work gloves, plastic sheeting and duct tape for sealing a window, moist towelettes, hand sanitizer, toilet paper, and heavy-duty garbage bags for waste.
- Basic tools and utilities. A wrench or pliers to shut off water and gas, work gloves, a utility knife, duct tape, a dust mask, and a pair of sturdy shoes per person.
- Clothing and local extras. One warm layer per person, a rain shell, and items tied to your risks: heat protection in the South, cold layers in the North, sandbags or a shovel in flood zones, snow chains or a scraper in mountain towns.
Then adjust for who lives with you. A household with infants needs formula, feeding supplies, diapers, wipes and at least six to eight extra hours of feeding. Homes with older adults or anyone managing a chronic condition need a medication list, refill contacts, blood glucose supplies and backup equipment batteries. Renters should add a copy of the lease and the landlord’s contact; homeowners should add the utility shutoff instructions.
Pet owners add a carrier, leash, food, water, waste bags and copies of vaccination records. For a family of four with a dog, that adds roughly one gallon of water per animal per day and a surprising amount of weight, which matters when you choose the container in the next step.
One more category people forget: skills. A manual can opener you have never used is decoration. Knowing which valve turns the water off, and where that valve is in the dark, is worth more than any single tool. Write it down and tape it to the container.
Step-by-Step: Building the Kit in Seven Steps
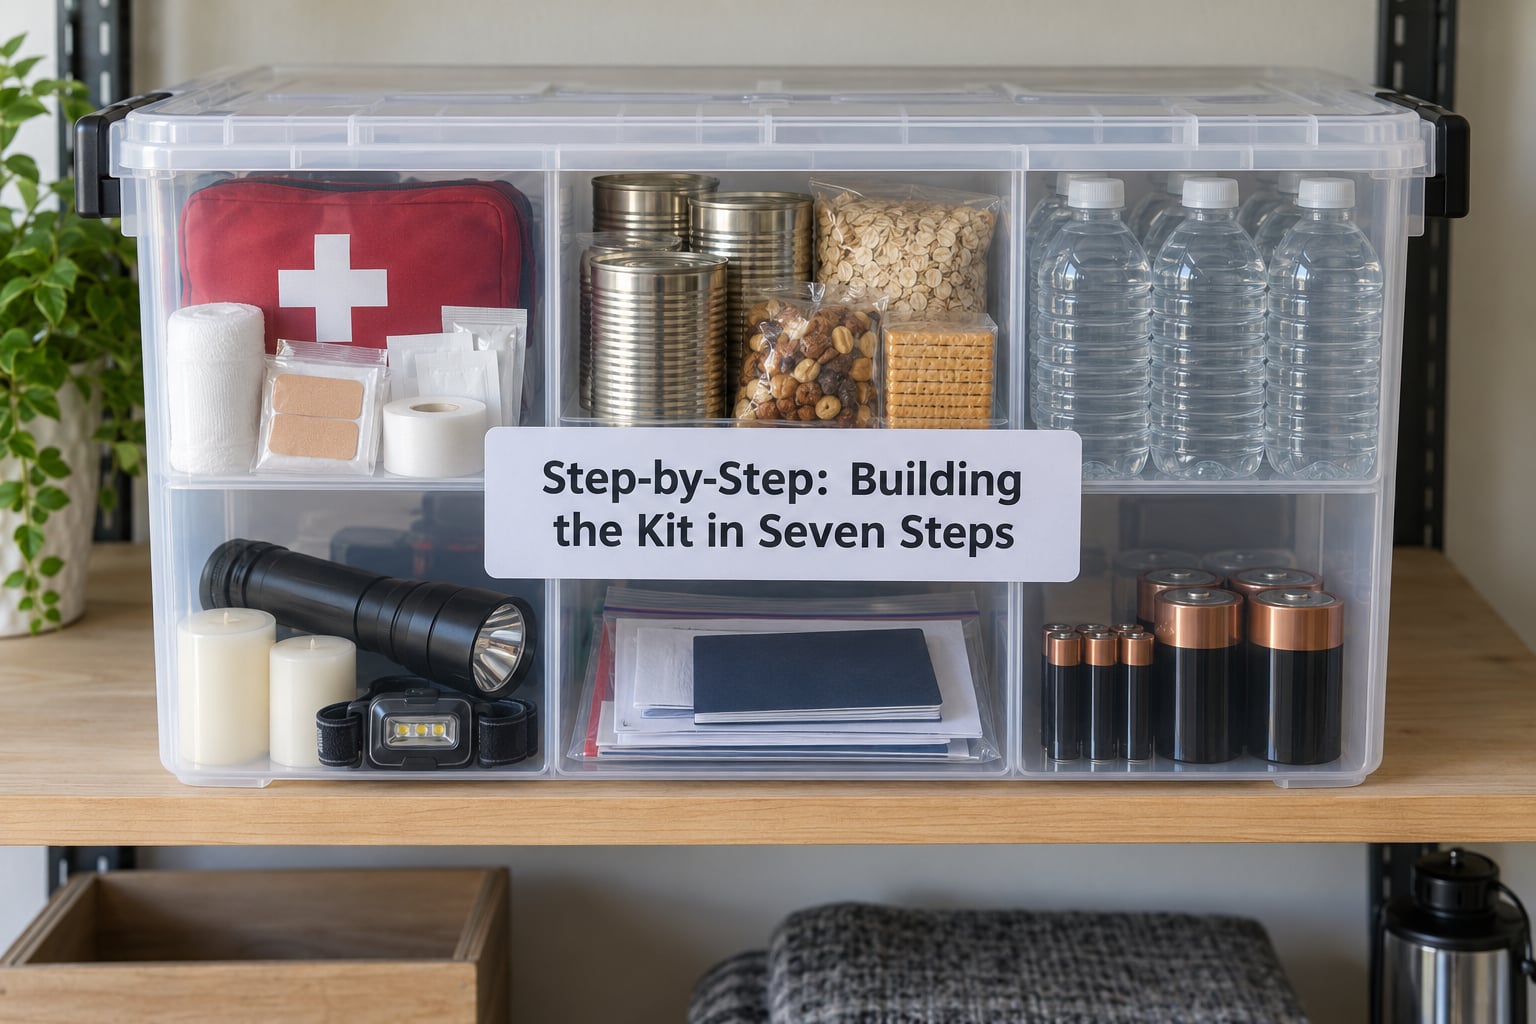
Step 1: Choose a Container and a Location Everyone Can Reach
Pick a container that suits the kit. A plastic tote with a tight lid handles water and weight; a lidded footlocker or a five-gallon bucket with a gasket lid works well and doubles as a seat or a bucket in a pinch. For one or two people, two smaller bins are easier to lift than one heavy one.
Choose the location before you pack. It should be dry, cool, up off concrete floors, and reachable without moving furniture or unlocking a safe. Avoid attics (heat degrades batteries and medicines), basements (flood water reaches them first), and closets behind seasonal clothing.
You know the choice worked when every household member can say where it is without asking. Say the location out loud, then post a note on the refrigerator and in each adult’s phone. A kit under a bed that nobody knows about is decoration.
Step 2: Pack Water, Food, and No-Cook Supplies
Start with water: one gallon of water per person per day for at least three days, for drinking and sanitation. For a family of four that is 12 gallons at the three-day mark, and the jugs are the heaviest, bulkiest part of the kit by far.
Handle the weight with a split strategy. Keep one to three days of water in jugs you can buy, tap or fill yourself, and if you want more days, store additional water in clean food-safe containers in smaller batches that a teenager or older adult could carry. Store jugs in the shade, on the floor or a low shelf, and keep them sealed. Never plan on storing water you expect to drink after a year without rotating it.
For food, choose shelf-stable items that taste acceptable cold and need nothing but a can opener: canned tuna, beans, vegetables, soup, fruit, peanut butter, crackers, granola bars, dried fruit, nuts, instant coffee and tea. Count roughly three days of meals per person, then add two extra days for infants, older adults and pets.
Add a manual can opener, disposable plates and utensils, a plastic cup per person, a small cutting board, and wet wipes or a hand-washing option. If your only heat source is electric, plan on no hot meals at all and pick foods that work cold. Check the kit worked by pulling any item at random: if you can open, eat and drink it without electricity, water and food are done.
Step 3: Add First-Aid and Health Supplies
A basic first aid kit should hold adhesive bandages of several sizes, gauze pads, adhesive tape, sterile gloves, antiseptic wipes, tweezers, scissors, safety pins, a CPR face shield, elastic wrap, a triangular bandage for slings, pain relievers, an antihistamine, hydrocortisone cream, oral rehydration salts and any prescribed medication you take regularly.
Add a written list of what is inside. People who find a sealed kit in a crisis tend to leave it sealed because they do not know what is under the lid. A folded card titled “what is in this kit” fixes that in ten minutes.
For medications, keep a seven-day buffer of anything taken daily, plus the prescription details and pharmacy contact. Store medicines in original labeled bottles, sealed in a waterproof bag, and follow the storage range printed on the label. Heat and moisture are what ruin most pills, so do not stash a prescription bottle in a hot garage.
This is general information, not medical advice. Ask your doctor or pharmacist which specific items make sense for a chronic condition, a mobility limit or a device you depend on, and check any blood thinner, insulin or refrigerated medication for its own storage rules before an emergency.
Step 4: Add Lighting, Power, and Communication Tools
Lighting comes first because it is useless without it. Pack two flashlights per household rather than one, even if they are the cheap plastic kind. Choose models that take standard batteries instead of sealed rechargeable packs, because a dead sealed pack has no fix in an outage. Then pack batteries in the exact sizes those lights take, plus a pack or two more than you think you need.
For communication, a battery-powered or hand-crank radio gets you NOAA Weather Radio broadcasts and local emergency alerts when cell towers are down. A hand-crank model keeps working with no batteries at all. Many models accept a phone charger, so check whether yours does before an outage proves it.
Add charging cables and a power bank for phones. Test the power bank every few months so it holds a charge, and never count on charging a phone with a generator, a car inverter or a wall outlet that has not been checked by an electrician. A whistle on a lanyard costs almost nothing and is audible far longer than calling out.
Step 5: Protect Documents, Cash, and Contact Information
Assemble a document packet in a plastic sleeve or a waterproof zip bag. Include copies (never the originals) of passports or other IDs, Social Security cards, birth certificates, marriage and divorce paperwork, insurance policies, deed or lease, vehicle titles, medication and allergy lists, and a recent photo ID for each adult in case a child goes missing.
Write the emergency contact list in plain view: one local contact, one contact out of state or region, the family doctor, the pharmacy, the insurance company and the utility emergency line. Out-of-area contacts are useful because local mobile networks get congested first.
Add a small amount of cash in small bills. Card readers and ATMs need power, and damage to card networks can leave you unable to buy anything for days. Skip the coins and the large bills, and keep the amount modest enough that losing the kit is not a financial blow.
Step 6: Add Hygiene, Clothing, and Local Extras
Sanitation gets skipped and then becomes the thing people complain about most. Pack moist towelettes, hand sanitizer, toilet paper, a toothbrush and toothpaste, a comb, feminine hygiene products, detergent in a small container, and heavy-duty garbage bags with twist ties for waste and for protecting belongings.
Add clothing suited to the season and the hazard: one warm layer and a rain shell per person, extra socks, sturdy closed-toe shoes, work gloves, and a blanket or emergency blanket per person. Dust masks cover drywall dust, wildfire particulate and mold after flooding.
Add plastic sheeting and duct tape so you can seal windows and doors against smoke or cold air. For gas leaks or chemical incidents you may need to shut the gas valve or seal the house; a wrench or pliers is the tool for that job, and knowing the valve location matters more than owning the wrench.
Finish with your local risks. Flood zones get a shovel, sandbags and a dry bag of clothes. Lightning-prone areas get a surge protector you can switch off. Cold regions get hand warmers, a heavy blanket and a chemical toilet. Freezing cold is what turns a three-day outage into a medical emergency, so weight the kit toward warmth there and toward cooling and hydration where heat drives the risk.
Step 7: Check, Label, and Maintain the Kit
Lay everything out and inventory it on paper. Mark each water and food item with the date you added it and the date to swap it, using a marker directly on the jug or a printed sheet taped to the inside of the lid. Write refill dates on the inventory sheet, not in your head.
Test what can be tested: turn every flashlight on, check the hand-crank radio, verify the power bank holds a charge, and confirm the can opener works on an unopened can. Then put everything back in its category and label the outside of the container with the date and the number of people it covers.
Set a recurring reminder rather than trusting memory. A monthly five-minute glance at expiration dates, a quarterly test of batteries and the radio, and a full refresh once a year catches expired food and dead batteries. Swap water and food well before the printed date, and after any change in household size, address, medications or local risk, revise the list immediately.
Common Mistakes: What to Skip and How to Fix It
What to Leave Out of the Kit
Some popular kit items do more harm than good. Skip anything perishable, anything that needs a working refrigerator, and anything built for a scenario wildly different from your local risks.
- Fresh food, frozen meals, and anything requiring refrigeration. They spoil within hours and take kit space away from shelf-stable meals.
- Overweight gear. Fifty pounds of hiking equipment is a liability if someone has to carry the kit up three flights while a smoke column builds outside.
- Expired medications and unlabeled old prescriptions. Dispose of them properly instead; do not carry them for a kit you hope to never open.
- A first aid book in four languages you do not read. One readable manual plus a laminated card of steps beats a shelf of paper.
- Large amounts of cash and heavy safe-deposit style storage. Small bills only, kept somewhere a child cannot reach.
- Duplicate gear you already own in duplicate quantity. Two camping stoves and three water filters do not help if nobody knows how to use them.
- Items stored where heat or cold ruins them. Batteries, medicine and matches in a hot attic will fail quietly.
The Mistakes That Invalidate a Kit Most Often
Treating one container as the answer to every disaster. A home shelter-in-place kit, an evacuation go bag and a car kit serve different purposes. A home kit stays heavy and stored; a go bag is packed light, worn or carried, and duplicates medications, documents and one change of clothes. A car kit carries tools, a tire plug kit, a 12V inflator, tow straps and work gloves. If you may leave home, build a separate go bag; do not try to lift the whole home kit through a smoke-filled hallway.
Storing water and forgetting to rotate it. Bottled water has a printed date, and the date is real. Write it on the jug when you pack it and swap it out before it passes. If you store water in containers you filled yourself, use food-safe containers, keep them sealed, and treat them as a shorter-term supply than store-bought jugs.
Forgetting medications entirely. Build the medication portion first, before the food. An outage that interrupts a daily prescription is a bigger risk than a missed meal. Keep a seven-day buffer and a written list of prescribers and pharmacies.
Hiding the kit. Locked closets, high shelves, crawlspaces and trunks under beds all fail at the worst moment. Accessible and known beats protected and secret every time.
Never testing the equipment. Flashlights with corroded contacts and radios with dead batteries are inventory, not capability. Test them on a schedule, and treat any battery that has been sitting unused for a year as a dead battery.
Confusing drinking water with all-purpose water. Official guidance points to one gallon per person per day for drinking and sanitation. If you only have half that, you can drink it and skip washing, or you can use it for washing and get drinking water another way, but plan which before you need it. Agreed-upon rationing beats improvisation on day two.
Building it all in one expensive afternoon. The people who finish are the ones who add a category a week. Set a fifteen-minute session on the same day each week and let the kit build in stages.
A useful final habit: keep the inventory sheet inside the lid. Anyone who opens the kit, in a hurry or in the dark, sees immediately what is there, what is used and what needs replacing next.
Frequently Asked Questions
How many days should an emergency kit last?
Plan for at least three days (72 hours) of self-sufficiency, which is the standard recommendation from Ready.gov and county emergency management offices. That assumes help reaches you within 72 hours, which is not guaranteed during widespread flooding, wildfire or long ice storms. If outages in your area routinely outlast that, build up to seven days of water, food and medication. Keep the three-day minimum complete before you add extra days.
How much water should be in an emergency survival kit?
One gallon per person per day for at least three days is the widely used figure, and that volume covers drinking, cooking and basic sanitation rather than drinking alone. For a family of four, that is 12 gallons at the three-day mark. Store it sealed and shaded, write the purchase date on each jug, and replace it before the printed date passes. In heat, plan more.
Where should I store my home emergency kit?
Somewhere dry, cool, up off the floor, and reachable fast by every household member. A closet shelf, a garage cabinet that is not exposed to heat, or a mudroom bin all work. Avoid basements, which flood first, and attics, where heat degrades batteries and medications. Tell everyone the location out loud and write it on the refrigerator and in each adult’s phone so it is not just known to one person.
What should not be included in a basic emergency kit?
Leave out fresh and frozen food, heavy overbuilt gear you would struggle to carry, expired medications, documents you cannot replace, and items stored where heat or damp ruins them. Also skip duplicate equipment nobody knows how to use. A cluttered kit slows people down in a crisis, so pack fewer, better items and label them clearly.
How often should I replace emergency kit supplies?
Check expiration dates monthly and swap water and food well before the printed date, which means a full refresh at least once a year. Test flashlights, the radio and the power bank every few months, since batteries lose charge while sitting still. Review the whole kit after any change in household size, address, medications or local risk, and immediately after you use part of it.
What should renters and apartment residents do differently?
Skip the tools you cannot use: no utility shutoff wrench if you have no access to the valve, and no heavy tools for a third-floor walkup. Focus on what you do control, including a copy of your lease, landlord and building management contact numbers, and building emergency procedures. Keep a lighter go bag at the door with medications, documents, keys and a change of clothes in case the corridors are the thing you cannot stay in.
Conclusion: Start With One Container This Week
The first action is small: pick a container, put it somewhere everyone knows about, and fill it with water and shelf-stable food for three days. That alone covers the most common emergency in most homes, an outage lasting a couple of days.
Add the next category each week for the next few weeks, test the equipment as you go, and label everything with a date you wrote on it today. Then tailor the list to who lives with you and what your area actually does in bad weather, because a kit built for your risks beats a bigger kit built for someone else’s.