A vision board works as an attention filter, not a magic spell. When you cut out images that are specific and emotionally meaningful, place them where you see them every morning, and attach a dated action step to each one, your brain starts treating them as instructions to notice and repeat. Learn how to make a vision board that actually works by following the seven steps below, and give yourself about ninety minutes the first time.
Most boards fail for boring reasons. They get made on a Sunday afternoon, cover a whole wall of pretty pictures, and quietly turn into wallpaper within a month. Nothing about the collage itself is wrong. What is missing is a decision about what you are actually chasing and what you will do about it on Tuesday.
I have watched this pattern repeat with clients, and honestly the same thing happened to me. I once had a board full of travel images and no idea which trip I was trying to fund. Six months later I still had the board and still had no booking.
Table of Contents
- What You Need
- How to Make a Vision Board That Actually Works: Step-by-Step
- Step 1: Choose One Focus Area
- Step 2: Define What Success Looks Like
- Step 3: Gather Images That Represent the Goal
- Step 4: Add Words, Numbers, and Action Prompts
- Step 5: Turn Each Visual Into a Small Action
- Step 6: Place the Board Where You Will See It
- Step 7: Review and Update the Board
- Common Mistakes
- Frequently Asked Questions
- Do I need special supplies to make a vision board?
- Is a digital vision board as effective as a physical one?
- How often should I look at or update my vision board?
- What if my vision board is not producing results?
- How many goals should I put on one vision board?
- Can affirmations replace action steps on a vision board?
- Conclusion: Start With One Meaningful Goal
What You Need
Before you cut anything out, gather five things. None of them are expensive, and most are free.
- A quiet workspace and about ninety minutes. A table, your phone charged, and no television in the room. Rushed boards end up vague.
- One written goal statement. A single sentence naming one goal in plain words, dated. Write it on the first page of a notebook or in your phone notes.
- Visual material. Magazines you already have, printed photos, receipts, screenshots, a calendar page, or printed free images.
- Something to attach images with. Scissors and a glue stick, masking tape, or a digital canvas app.
- An action planner and a date in the diary. Whatever you already track tasks in. Also book fifteen minutes one week from now for the first review.
That last item is the one people skip, and it is the reason most boards never produce a change. The board is not the project. The project is the thing you do next, and the review is what keeps the board alive.
How to Make a Vision Board That Actually Works: Step-by-Step
Step 1: Choose One Focus Area
Pick one area of life and stay there for this board. Career, money, health, a move, a wedding, a business launch. A board titled “everything I want this year” has no filter in it, so nothing on it competes for your attention.
The reason people add health, money, and relationships to the same board is that they want all of it. You will get all of it eventually, just not in the same ninety minutes. A second board a month from now is cheaper than a first board nobody reads.
Step 2: Define What Success Looks Like
Write your goal as something that can be argued with. “Get healthier” cannot be argued with, so it never finishes. “Walk thirty minutes four days a week and take my blood pressure reading on Sunday” can.
Try this template: by date, I will have done something a stranger could check, measured by one number or one observable thing. Save savings, an application submitted, a licence applied for, a course finished. The checkable part is what makes the board work, because it tells you whether the board is doing anything.
Step 3: Gather Images That Represent the Goal
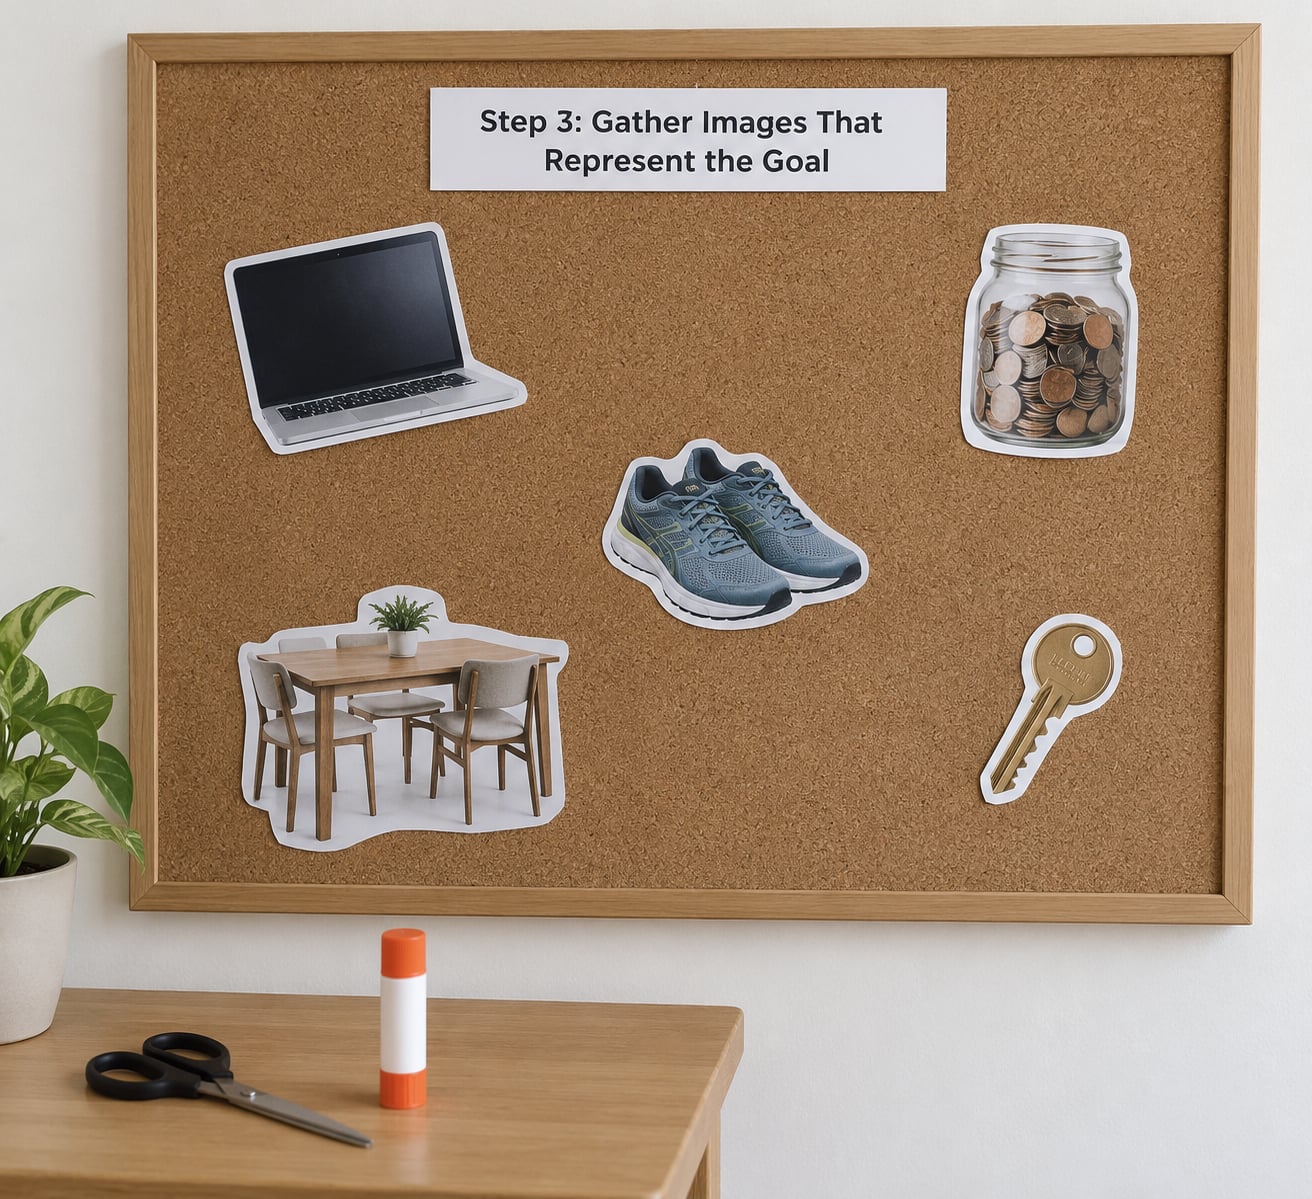
Now collect images, and hold each one against a test: does this make me feel something specific, or does it just look nice? A photo of a laptop tells you nothing. A photo of a laptop on a desk in a quiet room with a notebook and a plant is a scene you can picture yourself inside.
Choose images that show four things. The goal itself, the environment you want to spend time in, the person you want to become in that situation, and a solution to the thing that currently blocks you. If money is the focus, add a picture of the cost you are trying to clear rather than a stack of designer bags.
Ask one person what they see when they look at your selections. If they say “nice pictures,” your images are too generic and you need to go cut better ones.
Step 4: Add Words, Numbers, and Action Prompts
Images carry feeling. Words carry instructions. Five to eight phrases on the board is plenty, written by hand if you can, because handwriting slows you down and the extra effort sticks.
Use three kinds of words. Feeling words, like calm, capable, in control. Evidence words, like a date, a figure, or a name of a specific role or course. And a first action, written as an instruction with a time attached: email the tutor on Tuesday morning.
Keep affirmations short and forward-facing. “I am disciplined” beats “I am not lazy,” because the second one plants the word you are trying to delete.
Step 5: Turn Each Visual Into a Small Action
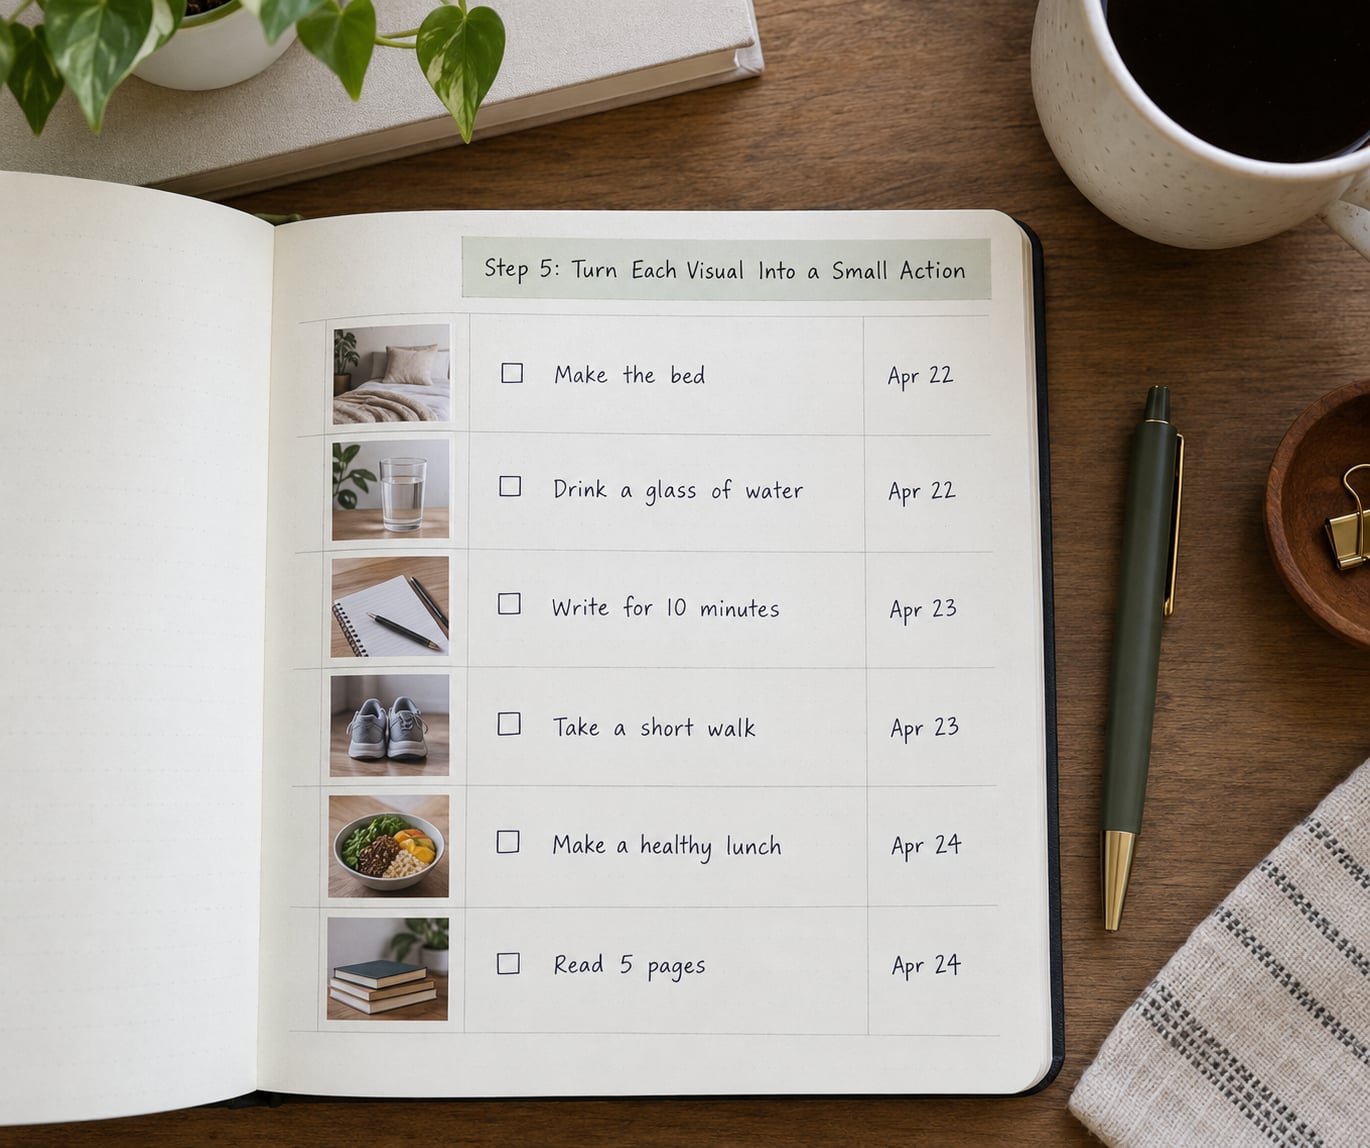
This is the step that turns a collage into a tool, and it is where almost everyone stops early. Put a numbered list next to the board, one line per image, with three columns: the action, the day, and the evidence that it happened.
A good line reads: “Draft two paragraphs of the proposal, Thursday morning, saved in the shared folder.” A weak line reads: “Work on the book.” If the action cannot be finished in one sitting, it is too big and needs to be split until it fits in a morning.
Three to six lines is the right number. A list you will not look at is worse than a shorter one you will.
Step 6: Place the Board Where You Will See It
Put the board where you look without deciding to. The mirror on your wardrobe door, the wall you face while making coffee, the inside of your laptop lid, or your phone wallpaper. Visibility beats size, and a small board in your sightline is worth more than a large one in a spare room.
Make it private if that helps. Plenty of people find the whole idea embarrassing, especially if family or coworkers make fun of it, and that shame is a perfectly good reason to keep it in a notebook instead. The board does not need an audience to work.
Turn the daily glance into a short routine. In the first five minutes of the day, look at the board and read one action aloud. That is the whole habit.
Step 7: Review and Update the Board
Book the review now, not later. Fifteen minutes one week after you make it, then once a month. At each review, ask three questions: which actions got done, which images stopped meaning anything, and what is the next action now.
Remove images for outcomes that have already arrived or have clearly closed, and replace them. A board left untouched for a year becomes decoration, and a dated board that shows a signed offer letter or a completed savings figure is proof to yourself that the process works.
Many people build theirs in the first weeks of 2026 and expect it to run the whole year without maintenance. Treat it like a garden instead, and give it fifteen minutes a month.
Common Mistakes
These seven account for nearly every board that goes nowhere. Each one has a quick correction.
- Too many goals on one board. Nothing competes, so nothing stands out. Fix: one focus area, three to six action lines, everything else waits for board two.
- Choosing images that look good but feel nothing. Pretty does not stick. Fix: run the feeling test on every single image before it goes up, and cut the ones that fail.
- No action step attached to anything. The board becomes something you like looking at rather than something you do. Fix: one dated, finishable action per image, written on the same day.
- Hiding the board. A spare room or a drawer means zero daily exposure and zero effect. Fix: move it into your morning sightline this week.
- Visualising only the outcome. Research on mental rehearsal suggests rehearsing the outcome alone can reduce effort, while rehearsing the steps raises it. Fix: add process images alongside the result images, so the board shows you studying, practising, and applying, not only the finished thing.
- Never updating it. Stale images keep pointing at a goal you have outgrown. Fix: fifteen minutes monthly, and remove anything that no longer names a real priority.
- Treating it as a promise instead of a tool. There is no evidence that cutting out a picture changes what arrives. Fix: keep the belief modest and the action aggressive, which is how the people who report real results describe it anyway.
One more that is not on the list but comes up constantly: building the board and never telling anyone. You do not have to share it, but one person who knows your dates and your numbers will ask you about them, and that question is often enough to get the action done.
Frequently Asked Questions
Do I need special supplies to make a vision board?
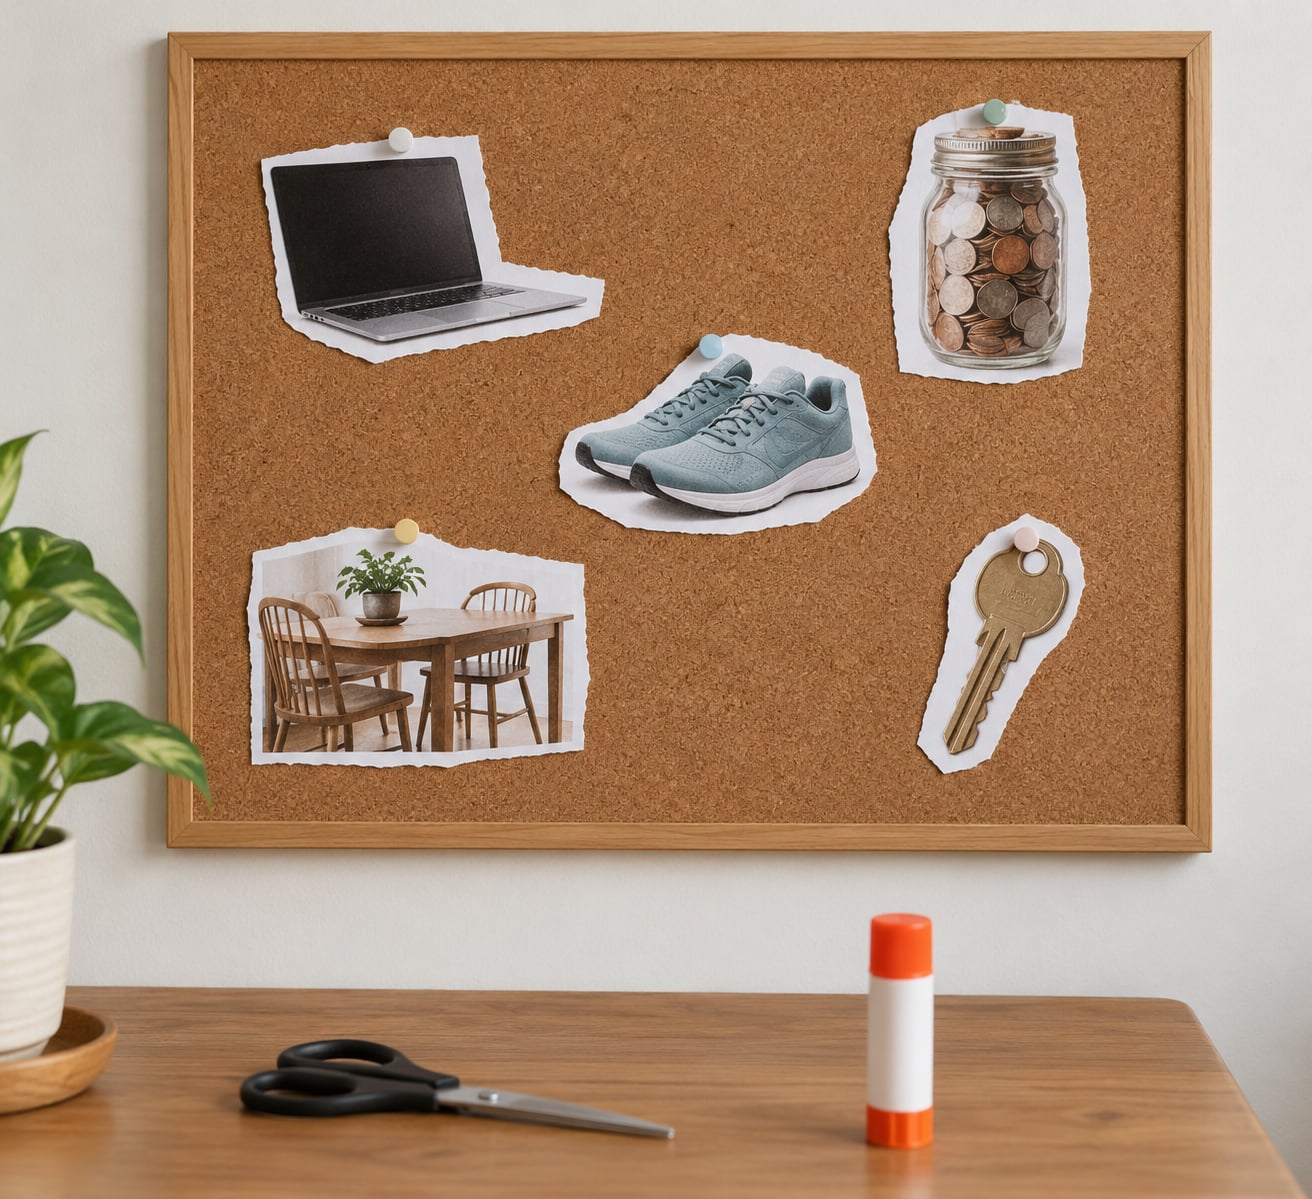
No. A corkboard, some magazines from home, scissors, and a glue stick are enough, and you can get the same result with a paper notebook, a folder, and masking tape. The free route is a folder on your phone and a saved image on your lock screen. What matters is that you attach a dated action to each item, not what you glue it to.
Is a digital vision board as effective as a physical one?
Yes, as long as you see it. Digital boards are easier to update, work well if you already live in a planner app, and stay private, but they disappear the moment you close the app. If your phone is face down all day, a paper board on the wall wins. The deciding question is simple: which one will you actually look at tomorrow morning?
How often should I look at or update my vision board?
Look at it in the first five minutes of the day, and review the whole thing weekly for about fifteen minutes. A monthly update is enough for the rest: swap out images for goals you have outgrown and add the next action for anything still open. Boards that get touched monthly keep working. Boards that get touched once a year become wallpaper.
What if my vision board is not producing results?
Check four things in order. Is the goal written down in a form a stranger could check? Does every image have a dated action next to it? Are you seeing the board daily? And have you reviewed it in the last month? If all four check out and nothing is moving, the problem is rarely the board. It is usually that the goal is bigger than one month of work and needs splitting.
How many goals should I put on one vision board?
Three to six action lines, all inside one area of life. That is the range where each item still stands out on the board. Some people run one board per quarter per area, which works well if you have the attention for it. Be careful with one big board covering health, money, work and love, because nothing on it will compete for your attention.
Can affirmations replace action steps on a vision board?
They cannot. Affirmations set a feeling and a direction, and the action step is what produces evidence of progress. A board of affirmations with no dates on it will feel wonderful and change nothing. Keep one short forward-facing phrase per image for the emotional anchor, then write the action underneath it. Words set the mood, actions move the number.
Conclusion: Start With One Meaningful Goal
A vision board earns its place when it does three jobs at once: it keeps one goal in front of you, it attaches a dated action to that goal, and it gets reviewed on a schedule you booked before you got excited. Everything else is decoration.
So do not start with images. Write one goal that a stranger could check, cut out three scenes that make you feel something specific, and put a time and a day on the first action. Put the board where you will see it before breakfast and book fifteen minutes next week to look at it again. That is the whole method, and it takes less time than the boards you have already abandoned.